Flash the Image
This section details the steps for flashing your device. Make sure you complete the Flash Prerequisites section before proceeding.
To obtain the latest prebuilt image, please refer to the Prebuilt Images section.
Connect the Board
Before flashing, make sure the board is connected as follows:
- Connect the POWER port to a power source.
- Connect the DEBUG port to the host PC.
- If you plan to use serial output, connect the SERIAL port to the host PC.
Some boards provide serial access through the DEBUG port. Others require an external USB-to-UART converter. Check your board documentation for details.
Consult the image below for the location of these ports on the Grinn GenioBoard-700.
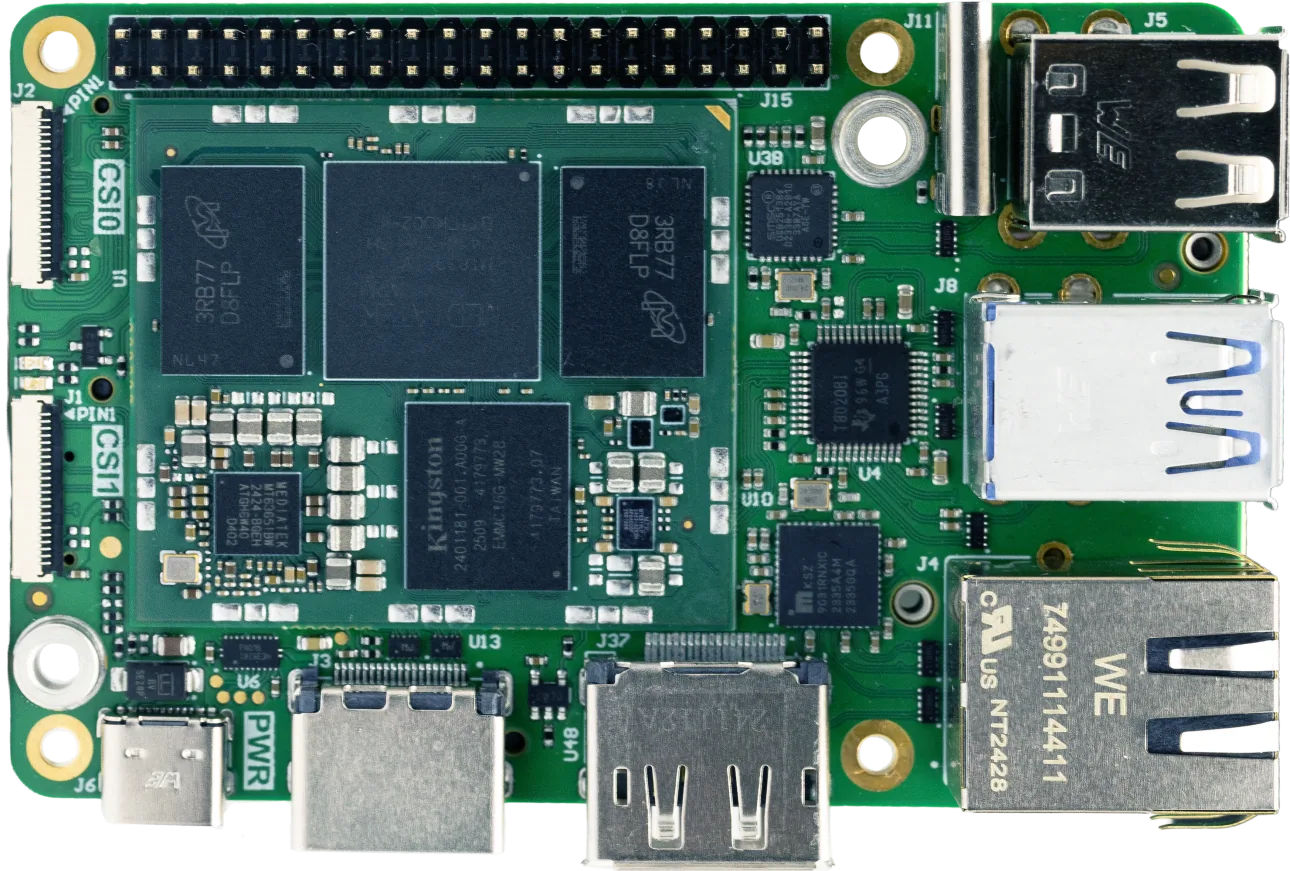 PowerDebug
Flashing
Prior to running the flashing tool, determine the correct path to the image and enter it in the terminal.
Run the flashing tool with the following command:
genio-flash
Once the tool is running, put the device into download mode as described in the Download Mode section.
The genio-flash tool should automatically put the board into download mode.
Do not disconnect your device or interrupt the process until it completes successfully.
Download Mode
The Grinn GenioBoard-700 can be placed into download mode manually using its physical buttons.
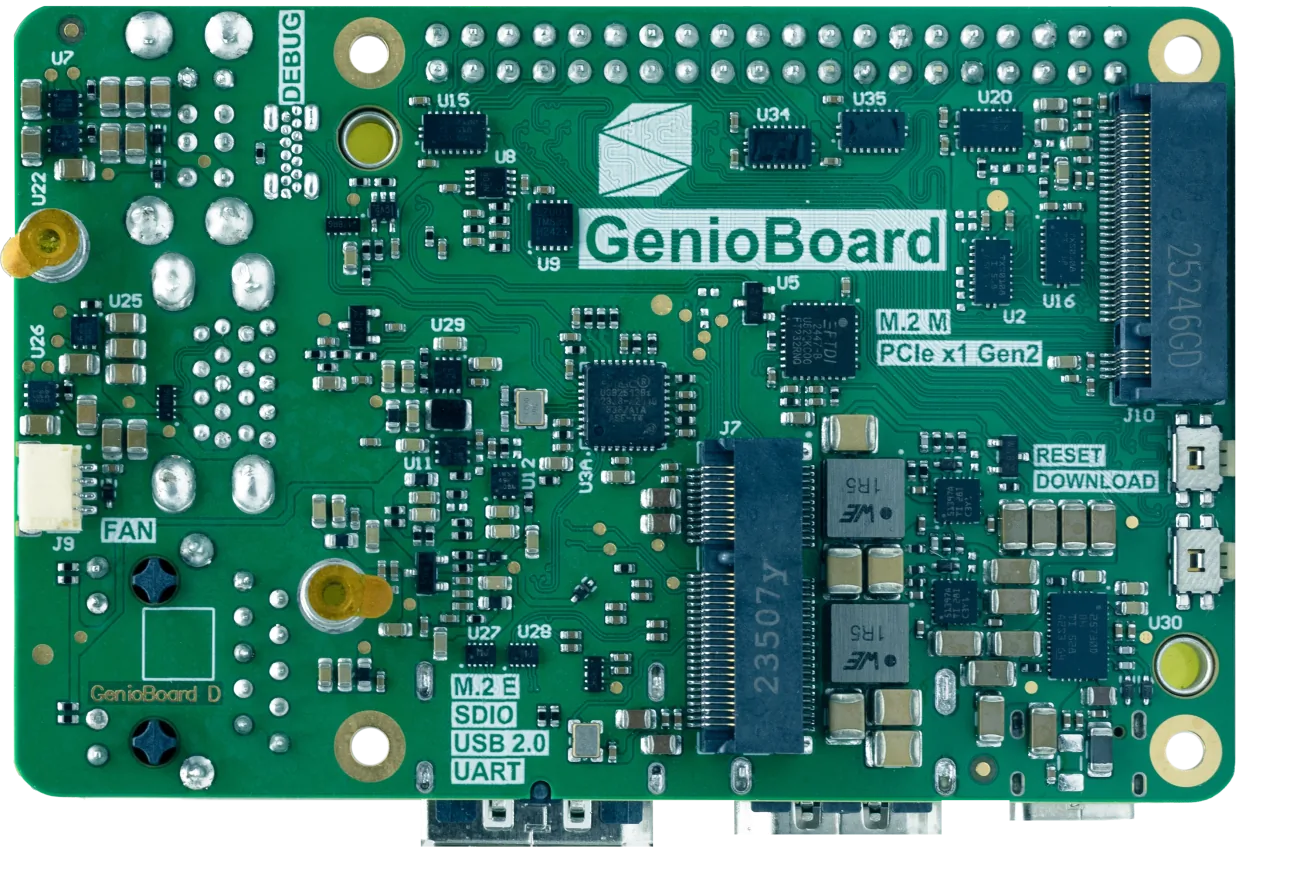
Consult the image below for the location of the buttons on the Grinn GenioBoard-700.
Follow the sequence below to put the board into download mode:
- Locate the RESET and DOWNLOAD buttons on your device.
- Press and hold the DOWNLOAD button.
- Click the RESET button while still holding the DOWNLOAD button.
- After a brief pause, release the DOWNLOAD button.
- The flashing tool should now detect the board and start the flashing process.
 ResetDownload